Friday, March 18, 2022

Multiplayer Kill Team

So what do you do when an odd number of people show up to game night?  You play three player Kill Team, that’s what!  Thanks to the alternating action system of the new kill team it actually works quite well.  The only strange situation that came up was how to activate overwatch, but even that worked out.


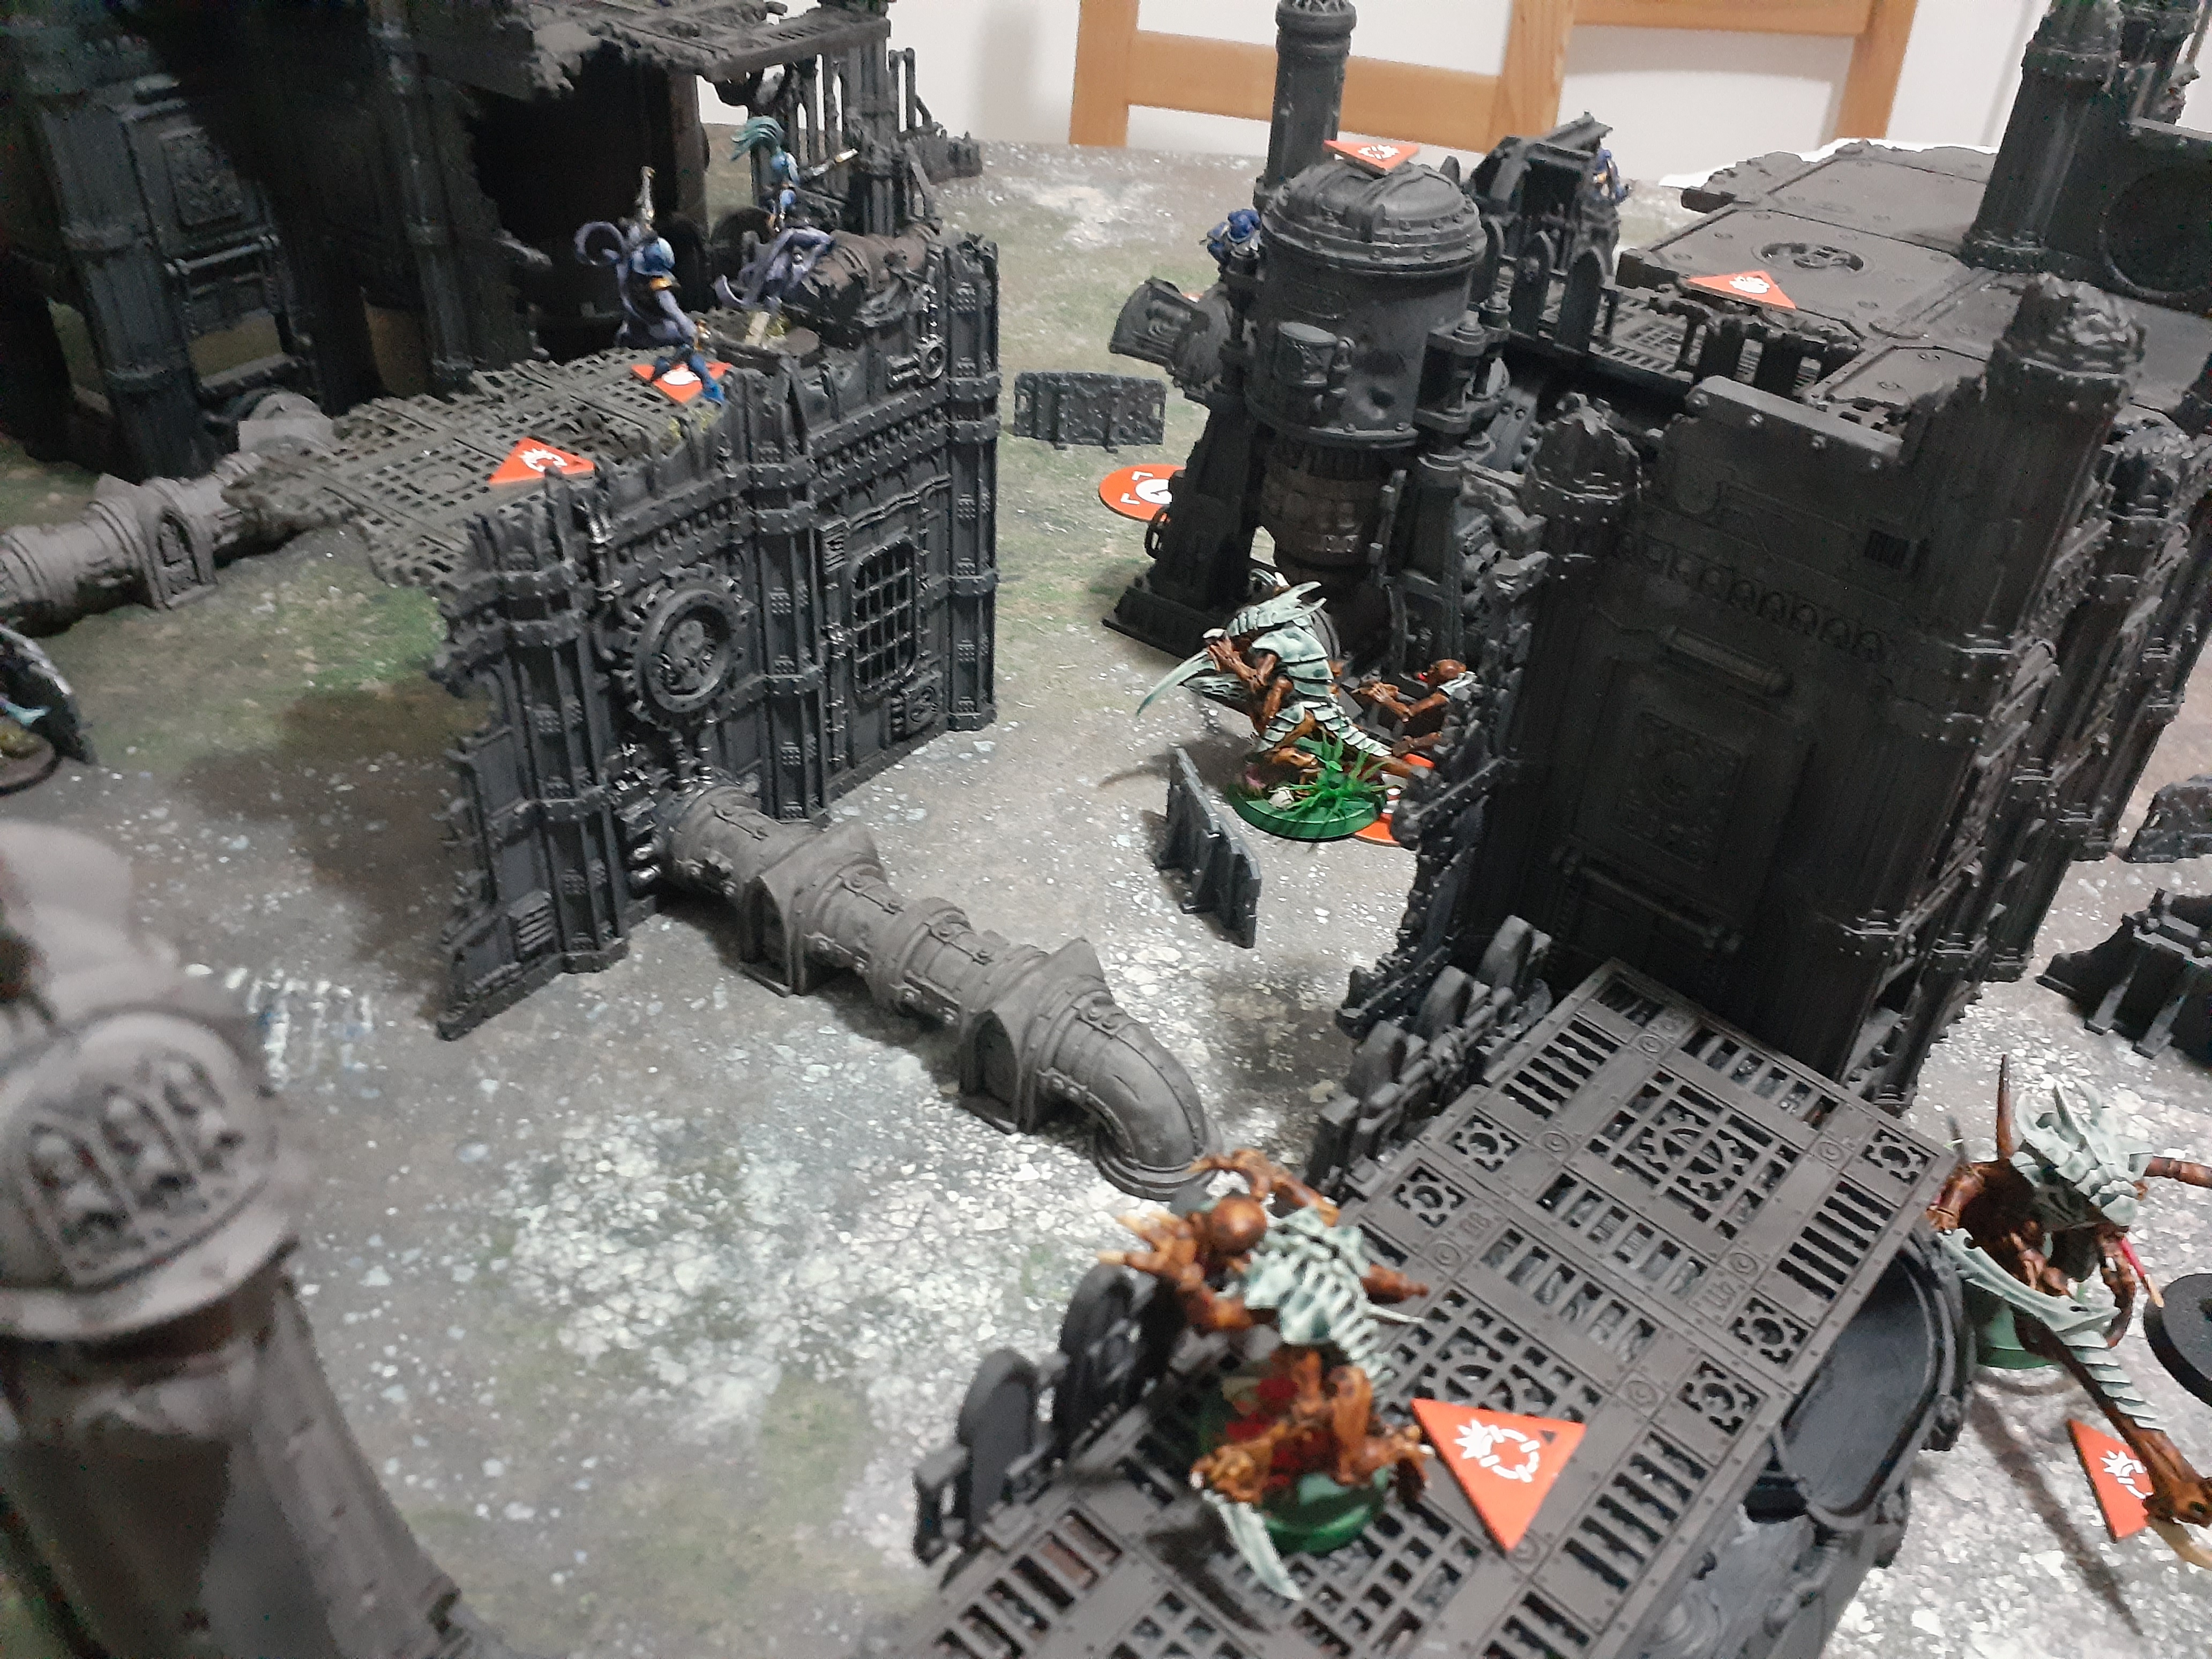
The scenario we played was Master the Terminals.  In this scenario you get points for controlling a terminal and you get more points if the terminal has been disconnected from its two firewalls.  We chose this scenario because it was easy to modify the objective locations to add a third terminal and corresponding firewalls.  Once the objectives were placed we all took turns adding scenery and then rolled off to select deployment zones.  Deployment was no closer than 6” to an objective marker and no further than “12 from your chosen terminal.  This rule was okay but we also had a “don’t be cheesy” clause (I am not sure three players would work in a competitive gameJ).  After that the person who chose the first terminal deployed a complete fire team, or half of kill team if they only had one fire team. Then we went around with each player deploying half of their kill team until all the operatives were deployed.


After that the game ran pretty much like a normal game with an initiative roll at the beginning of each turning point determining activation order. Overwatch was allowed if a kill team had no more actions and at least one other kill team had operatives to activate.  Interestingly this didn’t happen all that often and I don’t think anyone felt it was unfair.


Turning Point 1 (T3, M2, H3). Both the Harlequins and Tyranids made use of their superior mobility to disconnect two fire walls while the marines only disconnected one.  Otherwise there was no shooting in the first turning point as the marines were being very defensive and the other two kill teams were assigned conceal orders.


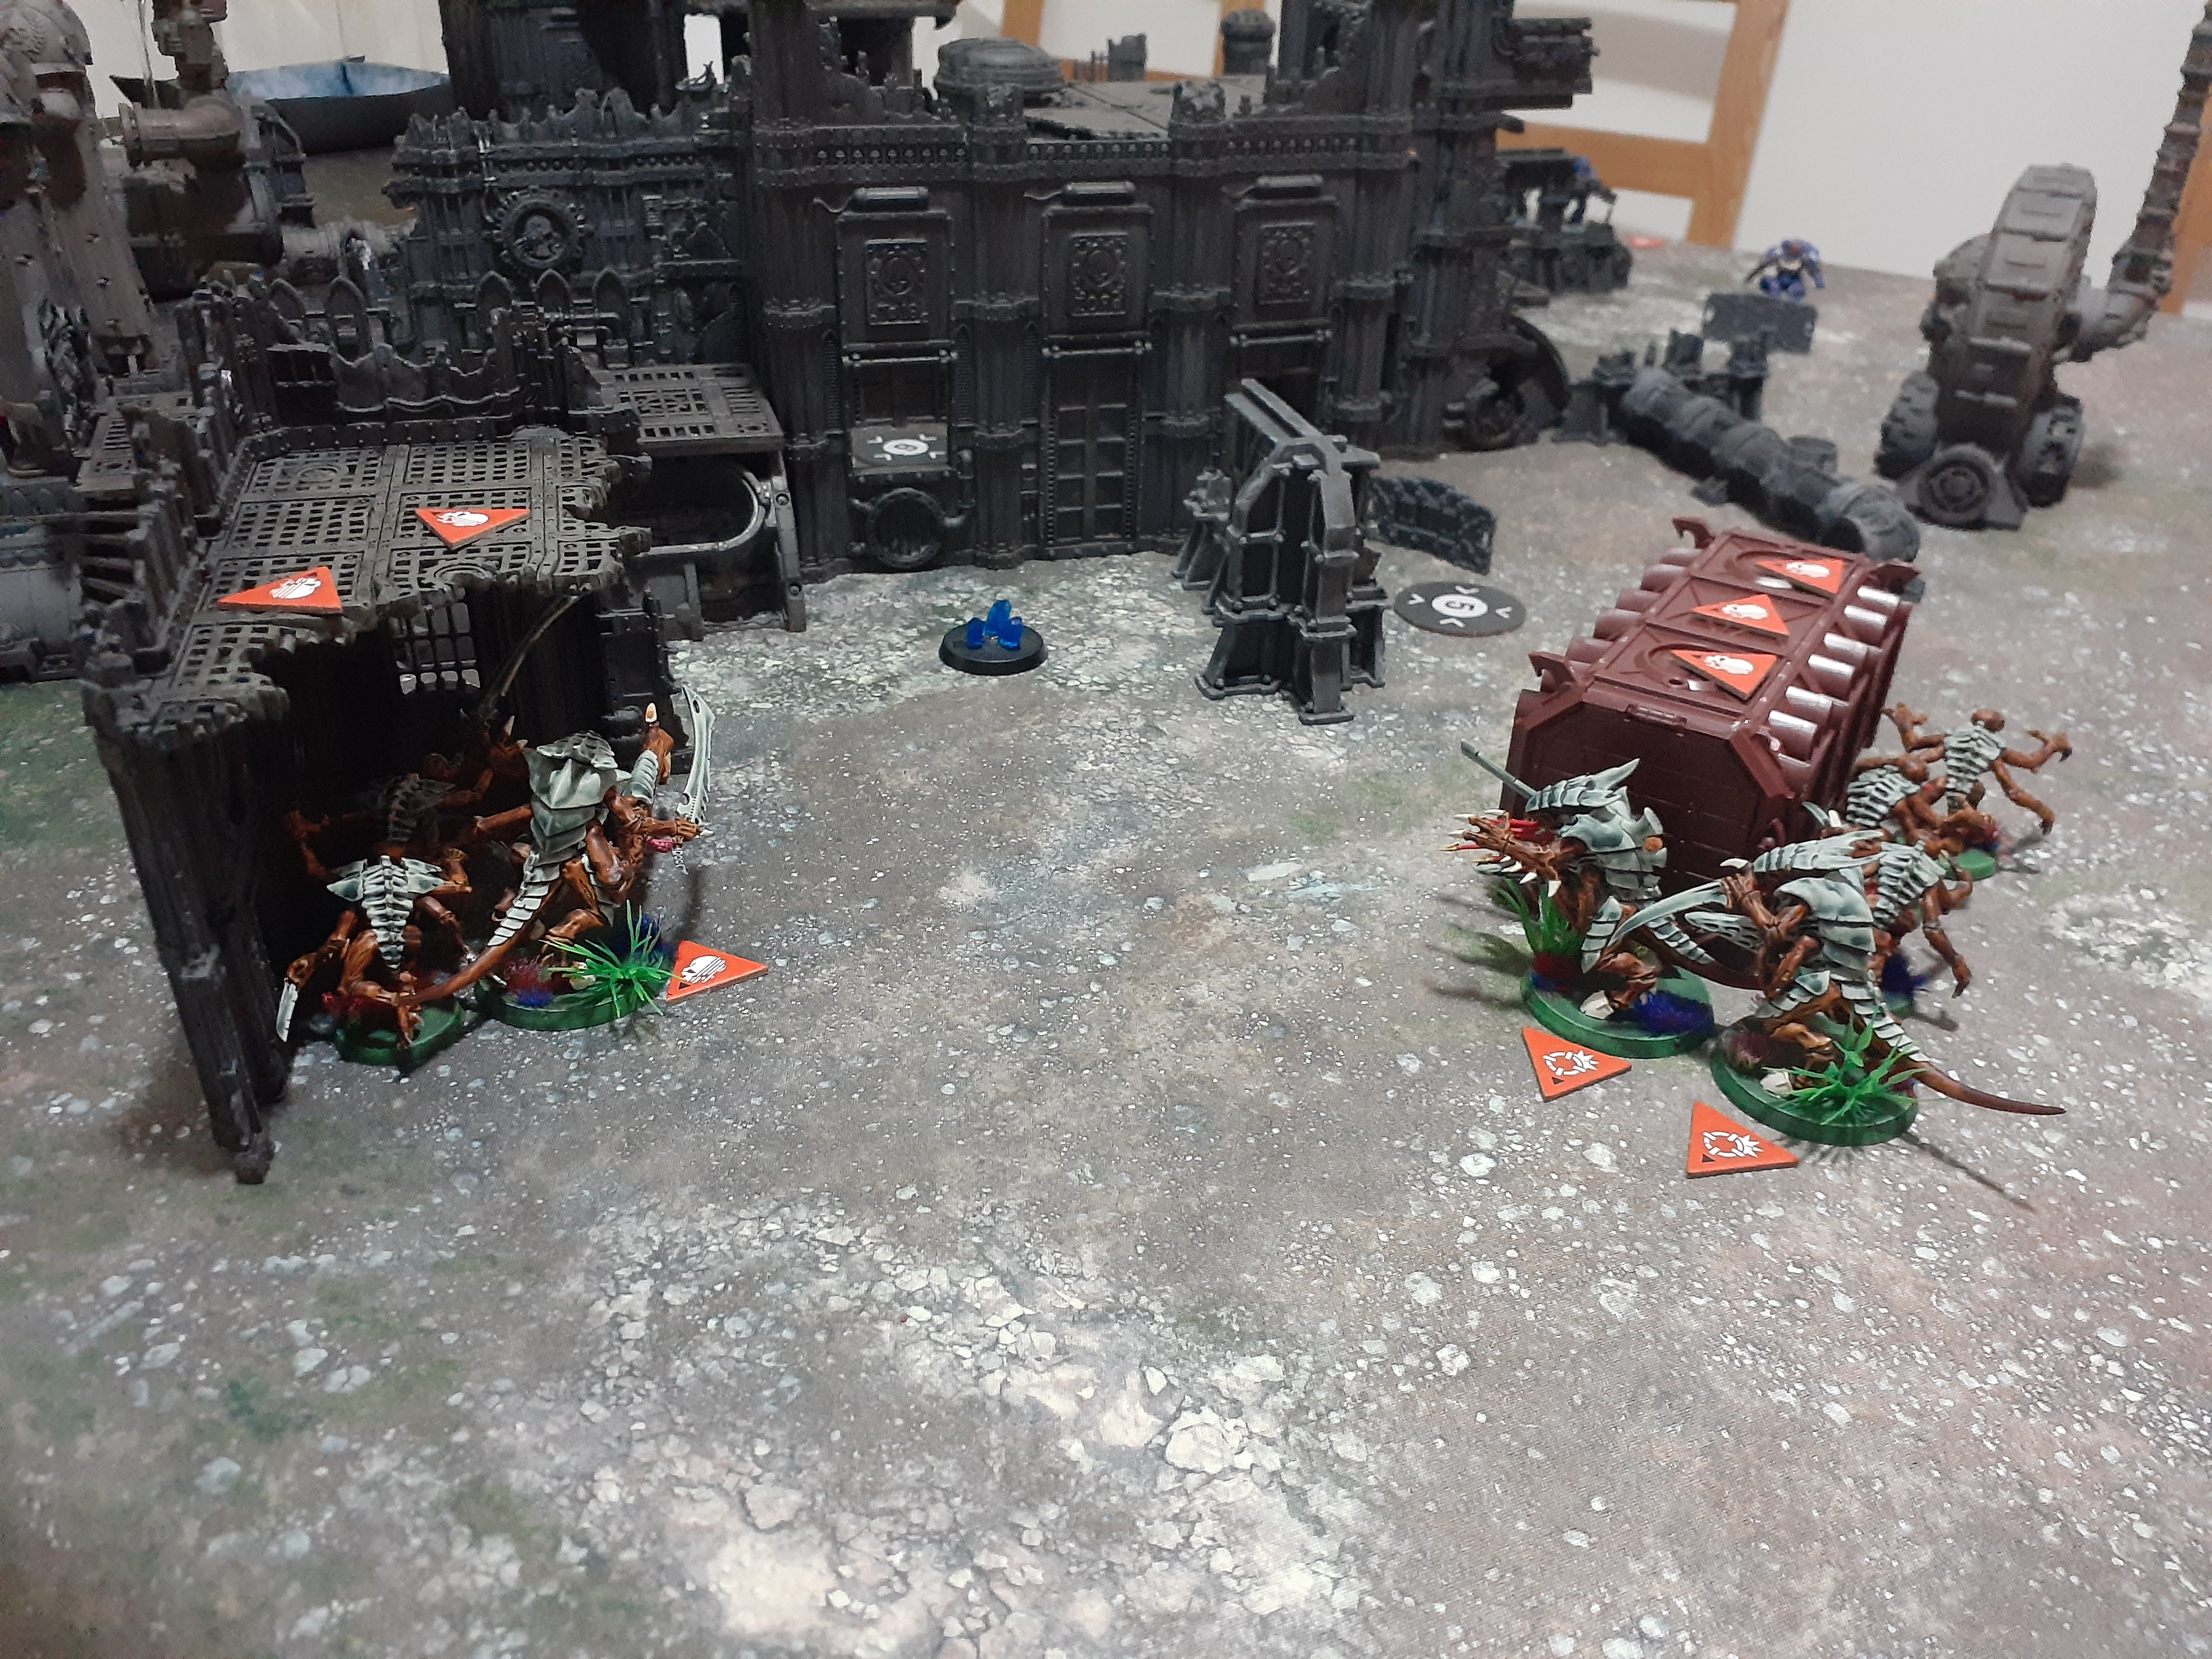
Turning Point 2 (T7, M5, H6).  This turn got bloody with Tyranids and Harlequins put some pressure on the marines who stay in their deployment zone, but did lose two marines to the combined attack.  Both the Tyranids and Harlequins suffered losses attacking the marines and even more when they fought each other in the center. One harlequin did reestablish a firewall around the Tyranid terminal but they are quickly destroyed and the firewall again disconnected by the Tyranids.


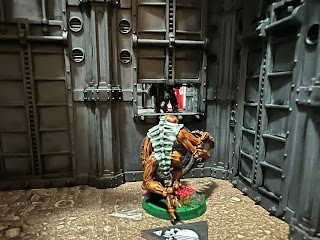
Turning Point 3 (T9, M7, H8). More fighting but this time the Tyranids and Harlequins give up on the marines and concentrate on each other in the center incapacitating many operatives. There was one moment where a Harlequin with shuriken pistol and kiss charged a wounded Tyranid warrior in close combat and then blasted a Genestealer all without taking a wound.  That operative was then blasted by a venom cannon but they got the point across.


Turning Point 4 (T10, M9, H10).  By this point the Harlequins are exhausted and with one operative remaining decide to defend their own terminal.  The marines are too far back on points to win but play the spoiler to reestablish a Tyranid firewall and the game ends in tie between the Xenos, Better luck next time Emperor of Man.

So the game ended very close and everyone had fun, so I guess that is a win. Maybe it would benefit from Tac Ops cards for a few more options for gaining victory points. Certainly adding a bit of complexity would not hurt the speed, this game played in about the same time as a normal Kill Team game.

I think clearly the Harlequins were overly aggressive and it was the first time the list was being used but their maneuverability really showed its worth and their 3 victory points in the first turn kept them ahead of the marines. 

The marines were perhaps too timid, but with a smaller kill Team they did not want to loose operatives without a compensation in victory points.

The Tyranids played well, they kept their eye on the victory points and were given a bit of a blessing from the harlequins when they reestablished the firewall which allowed them to disconnect it again and score some more points.


Thursday, March 17, 2022

Full Thrust Review


So this post is going to be a bit different, my hope is to introduce the limited readership to a really fun game my friend has recently shown me. The game is Full Thrust and it is a space fleet tactical war-game.  It is approximately the same scale as Battlefleet Gothic but I am not sure how the rules compare.  It was invented by Ground Zero Games in the UK and is jointly promoted by them and MechWorld from Germany. No one has given me anything to write this post… but maybe they will ;)

A general overview of the mechanics are; pre planned movement, shooting with pools of dice (dice pool management), and a detailed damage system which combines to make it a fun game, but with large variance in a few small places.


The game is played over multiple turns with both fleets planning and then executing their moves concurrently.  I don’t think there is a set number and my games go to 7 or 9 but if I was better it would probably go longer.  The game take over 2 hours for the basic size fleets, shown in the pictures.  When my brother and I play we have even started moving each other’s ships which is possible due to the clear planning mechanics, but it does slow the game down a bit.

Shooting (in the basic game) is done with two weapon systems; laser batteries and torpedoes.  The shooting phase has alternating activation and beings with an initiative roll for who gets to pick the first ship to activate.  This is where the first bit of variance creeps in as once ships start getting damaged an early activation can be used to destroy a ship that then doesn’t get to retaliate. The order in which you choose to activate a ship is significant as well and totally controlled by the commander of the fleet, however there are turns where shooting first is just more important.  Once a ship is activated it can then target a number of ships based on the number of active fire control systems it has, this ranges from 1 to 3 on the big ships.  The strength of the batteries and torpedoes then depends on the approach of the two vessels with all weapon systems having a unique arcs and range dependent dice pools.  Laser dice pools are combined making it essentially one roll per target, if you have different coloured dice for the torpedoes.


Rolls to hit are standardized (4+, 5+ if the target has active shields) and the commander controls the chance of success by allocating more batteries to the target.  Once hits are scored the target vessel starts to take damage immediately and “hit point” boxes are crossed of the data sheet.  As ships take more damage, rolls are made for the different ship’s systems to determine if weapon, engine or even life support systems get knocked out. At the end of this part of the turn each ship can use their damage control teams to try and repair some damage however this is rare, and another place where some lucky dice rolls can provide an unexpected boon.

There is an advanced game that has missile boats and carriers, I guess the missile boats launch drifting mines that can intercept other vessels as they navigate the battlefield.  But I have not played this.


I think my favorite aspect of the game is the planning phase.  This is the phase where the players really do have all the control and try to outwit their opponent.  Much like the dial in X-Wing, or the orders tokens from Epic 40k, this provides the moment that generates the most regret and second guessing. The data sheets are also great, and simplify the complex damage accounting system into something that is smooth and plays well.  The models look cool to, oh and yes I think the light cruiser looks like the HALO rifle, and the cruiser came out first J

Tuesday, March 1, 2022

Kill Team Game 7 - Tyranids vs Chaos


Set Up, Escalation was the scenario selected for this week’s game.  This scenario has 6 objectives that start to disappear at the beginning of turning point two and also increase in value from 1VP to 2VP on turning point 3.  Chaos won the roll and elected to defended, their side had a vantage point with cover that would be a suitable place for the cultists shoot their autoguns from. Otherwise the setup was quite balanced.


Turning Point 1 (4-2, for Tyranids). In the opening Turning Point the Tyranids decided to move aggressively across the entire frontage of the board and secured 4 objectives, Chaos secured the other two.  The shooting was limited to the gunner operatives on both sides, who were effective, each incapacitating one enemy operative.  Unfortunately the Tyranid gunner with only 2 APL remained in the open while the Chaos gunner was able to move back into heavy cover.


Turning Point 2 (6 – 4, for Tyranids).  Objectives 6 and 4 were removed for this Turning point. Chaos won the initiative and took a plasma gun pot shot at the Tyranid gunner on top of the catwalk, with the help of a reroll the blast of plasma did an incredible 22 points of damage and vaporized the warrior before it could react.  Obj 1 became the focus for this Turning Point with cultists using their grenades and pistols to flush out a hidden Geenstealers, who were then countercharged and ripped apart by more Geenstealers.  Not wanting to slip any further behind on points the icon bearer also charged onto the objective. In addition two of the cultists around Obj 5 were killed by a Tyranid warrior who tried to secure that objective.  The remaining cultist on Obj5 responded with a spurt of flame doing some damage to the warrior.  Obj 5 would stay under the control of Chaos.  


Turning Point 3 (6 – 6).  Obj 3 and 5 were removed forcing all the operatives to the center and contest the remaining objectives that were now worth double points.  The Tyranids began the turn with a charge into the icon bearer killing him.  The Chaos Champion then showed the value of 3 APL by charging into the Tyranid that had killed the icon bearer killing it and then firing his pistol at the Tyranid leader who was now on Obj 2 after eating a hapless cultist.  Again the marine gunner showed his value by melting the last Tyranid warrior.  At the end of the Turning Point all but one Geenstealers was incapacitated and Chaos had lost about half of their kill team. Objective 2 was contested but Obj 1 was in the grip of chaos.


Turning Point 4. (6 -10, for Chaos).  Outnumbered and outgunned the loan Geenstealers sells his life dearly but is taken down by a gout of flame at very short range. With the opposition removed the Chaos kill team score 4 VPs to clinch the victory.

Conclusion. 

Mission. Each mission in Kill team is quite different, in this case the evolution of the objective inevitable forced both kill teams into the center of the battlefield.  It is important to understand the implications of the mission. In this scenario 12 of the 18 potential points could come from controlling the center for four turns.

Plasma guns seem way too good, in many cases they are preferable to heavy gunner options in most kill teams.  This is also not the first time I have noticed the power of these weapons.  My opinion is that their normal damage should be reduced by 2 and their critical damage should be reduced by 1, but they should still retain their Armour Piercing special rule.  Armour Piercing is very powerful and when fired on hot the plasma gives very reliable damage.  In addition the disadvantage of the hot rule can be effectively mitigated by the kill team’s good luck token (most kill teams have access to this for 2 or 3 equipment points).

After the game my initial reaction was that the Tyranid forces spread themselves out too thin.  But on reflection I think they just lost too much in the center where the majority of victory points were to be had.  Again the 3 APL pop up attacks were powerful. Likely the best counter is to just charge the elite team’s gunner as soon as possible. Perhaps the Geenstealers needed to focus more on killing marines and should have tried harder to ignore the cultists… I don’t know, certainly we should play more games.