I find doing scenic bases are very daunting for most people. One definitely suffers from the “Where to start” syndrome. I find the best place to start is “what overall theme do I want my bases to have” and “what do I want my scenic bases to accomplish for this army”. Once you answer those two questions then you will find things will really start falling into place for you. Here are a couple of examples of what I am talking about in reference to my last two armies (as each one specifically fills one of those two questions).
“What overall theme do I want my bases to have”: For my Tyranids this is by far the most important thing I had in the back of my mind when approaching this army. I really wanted my Tyranids to feel like they were part of a large battle that was still in progress and to help tell that story. So for my army I decided I was going to incorporate my armies Arch Nemesis, The Ultramarines, as casualties on my bases. When I look at the army as a whole it really does give that feeling like they are in the middle of something bigger then what is on the talbe, which I really love. I also figured everyone hates Ultramarines anyways so I will get mad props for doing it (I kid...well...not really lol). The other main reason for using Ultramarines is the colour of their armor really plays off the Purple and Brown on my Tyranids which leads me to point 2.
 “What do I want my scenic bases to accomplish for this army”:
 Now, this is the main focus of my Dark Eldar’s bases. If you really look at the bases for this army and the colours I used it is virtually impossible to pick an actual “theme” and it really is nothing but a bunch of jibberish. Dark Eldar standing on loads of scrap metal and junk? That really doesn’t make a whole lot of sense (they were originally my Orks bases but I was too lazy to make up new ones for my DE lol). For this army the theme 100% doesn’t matter and wasn’t part of the thought process behind their bases. What WAS the main focus was “What colours can I use to really help punch up the main colours of the army and to add visual interest to the models?” That is all that matters to me and for the most part I feel it is fairly successful.

Now that we have decided on a theme for our bases the next thing is to figure out what we will need in order to accomplish our goals. There is literally no limit to what you can throw on a base and this article will be WAY too big if I go into all of them. What I will do though is touch on some of my “Go To” materials.

- Industrial Rail Train Pieces: if you go into any regular hobby store there is normally a section near the model trains with different industrial plastic pieces. Things like “I” beams, scaffolding and smaller plastic tubes that you can use for pipes and whatnot are fantastic. You can also find plastic sheets that mimic building textures like bricks or aluminum siding (which I used extensively for my DE) not to mention plastic-card which have millions of uses. The key to these types of materials is to stockpile a bunch of these so when you get around to basing you can lay it out and help the different options materialize in your brain.
- Different Sizes of Gravel: One of the best basing things I have ever purchased was the “Limestone Chips” that come in the GW’s 40k basing kit. A small package of jagged, perfectly sized rocks was a godsend. It’s not the only decent rock out there though. It’s always good practice to have a bunch of different varieties of them for different looks and purposes.
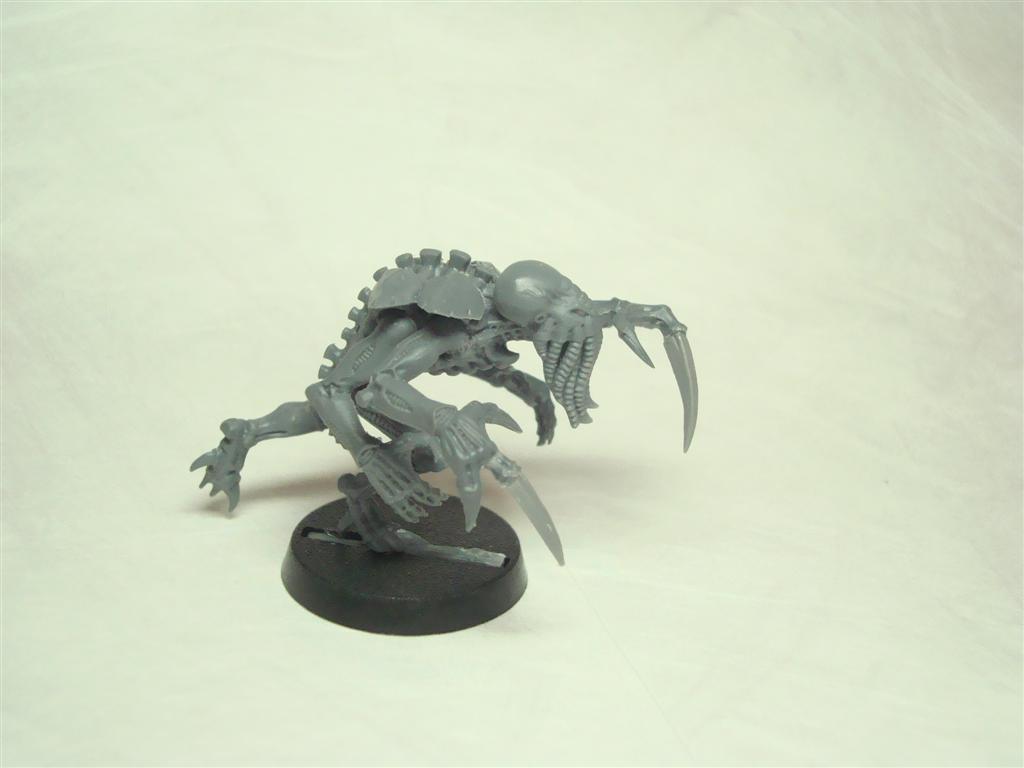
- Bits from other Models: When I started my Tyranid army I had about 30 unbuilt Marines as well as left over parts from Rhinos and other things that I knew I was never going to build so I made good use of them on my bases. Now, I am not saying go buy a whole army just for your first army to stand on…that’s crazy talk. What I am saying though is your bitz bin is an invaluable resource for basing. You never know what you might need down the road so I make a habit of stripping my modeling sprues an throwing the extra bits into my bin. Throwing out a spare Marine helmet or a pistol onto a base can really help spruce it up.
- Different Types of Flock: Adding things like grass to your bases is another way to add visual interest by sprucing up the colour as well as the profile of your bases. It’s always really important to make sure the colour of your static grass goes with what you are trying to accomplish. Like, my Dark Eldar for example it would look horrible if I had bright green, very alive grass. If on the other hand I throw on dead grass (like they have) it makes more sense and adds that last little punch of colour. Another really cool product that has come out recently are pre-made tufts of grass that come on a sticky sheet. You can add this to bases with your regular static grass to create an even more realistic look.
- Coarse Pumice: I saw this on an article on Bell of Lost Souls and decided to try it out. I have to say I love using this product. It’s basically a Sand “Spread” for a lack of a better term. It’s a resin based product that drives hard with sand like texture. What it is really useful for is adding a layer of texture on your base that you can use to stick materials into. For the best results I find adding small sprinkles of sand here and there really gives a great finish look.
Once you have figured out the theme you want to go for and you have gathered the materials you want to use its time to actually get basing. The actual application of all the materials really depends on what you are trying to accomplish and there really is no right or wrong way to do it. There are a couple of tips you can use though.
1) Be Mindful of the Size of the Base: For the small bases you really want to avoid doing too much. Typically a single extra piece of something is all you need like adding a rock, or a metal plate. If you add too much it will tend to get overloaded and there is the simple fact you just cant fit everything on such a small surface.
2) Doing a Dry Run: For when you start getting into doing the larger bases or the bases for your generals/focal points I normally will get the pieces I want to use and I will set them up on the base before I actually do any gluing. I do this so I can really figure out how I want everything to look and so there isn’t any overlap on how I have things set up. This one is a really important step and one I really encourage you to get in the habit of doing.
3) Basing Doesn’t just Stop at Foot Troopers: I can’t count how many times I have seen armies with amazing basing on everything BUT they leave the Skimmers with their bare plastic rings. For me it’s just one more opportunity to create some really cool looking to help tie everything together. This one really does boil down to personal preference.


Now that I have talked about basing in general I will actually get into the specifics for my Tyranids (this article is supposed to be about Ymgarls after all lol).
With all of my Tyranid bases I started out with setting out the materials I needed (so, typically one or two extra details, white glue and sand). I would do a quick layering of the white glue and place my "detail" pieces then I would dunk the whole thing in my bin of sand and cover the whole model. Next I would do a couple passes of white glue around the detail bits, slowly building up mounds around them with the sand. The reason for this is it really helps make it feel like it is part of the base instead of just sand with a Space Marine helmet thown onto the base. Below I have added an example of my Tyranid Prime and how that layering of sand looks once its complete:

 So that is pretty much it for this article. The next article is going to be about the how I painted my Nids and it will focus more on the colours and techniques I used to paint it (plus a step by step guide). If you have any other requests of articles like this you would like to see (I am thinking of doing the same thing with my Dark Eldar).