Showing posts with label Greedo. Show all posts

Saturday, August 15, 2020

Tallarn Rough Rider fixing WIP

I bought these guys years ago on eBay. It shipped from China.... didn't realize it at the time, so I have a strong suspicion that I inadvertently bought fakes. That said, the molds are good, and didn't require too much fixing.

The big place these guys did need was their lances. Plastic lances are just bent and look like crap. I had a bunch of brass rod lying around for pinning figs, but it looked perfect to replace the lances. With some micro drills in hand, I fixed 2 of the lances on these guys. Only 1 of them needed the front of the lance fixed. The other guy required BOTH parts in front and behind his hand repaired. Resin is a double edges sword. GREAT detail... but also thing parts flex and bend. Then again, it's also easy to cut with a hobby knife, and you can always do the hot water bath to fix bent stuff..

Sarg is in the middle. He didn't need any brass but I did have to cut off some of the flash. 4 to go..


Battlemat Deepdive & Madness

Something that I don't tend to focus on in wargaming is the terrain, and more specifically the surface of the board, so I wanted to share a bit of the collection that I've been working on of battle mats, but also terrain "flats" since I don't have much room for buildings, trees, etc. like I used to back in my parent's basement back in the day. The flats will be another post.

Many games require different sized boards, 2x2', 3x3', 4x4', 4x6' seems pretty standard. There are those historical Napoleonic guys who have 5x8' tables, but that's just not very common anymore. It's also WAY easier to lean across a 4x6' table and not spear yourself on the metal points of your pikemen, knock over trees, or shift a figure/unit by mistake.

But either way, what we used to do "back in the day" was to get a thin green thin fabric sheet from a place like Michael's, lay it down, with some books underneath it for hills, stick some trees, buildings, fences etc. on it, and get to playing. Whenever I make it to my parent's house for XMas days with BigWillie and/or Goulio, that's STILL what we do, because all my old terrain and that green sheet is still there.

I also play the ancient's game DBA, which uses a 2x2 or sometimes 3x3 board, and I bought a few boards for this game:

Tallarn Desert Raiders Flamer Conversions WIP

 I love my Tallarn Desert Raiders Imperial Guard Army. I will never sell it.

BUT, when GW made these guys, they decided to NOT include flamers or heavy flamers as part of the weapon loadouts.

After many ebay purchases, I have obtained quite a number of Tallarn Desert Raiders. The main box came with a Melta guy, so I have plenty of those. I also have only 2 Plasma guns, a single Grenade Launcher, and assorted heavy weapons.

BUT no flamers! Thus with all my spare time with COVID, I decided to change this with a little ingenuity. I shall explain my process below the pics. I present; 3 flamers & a heavy flamer WIP. I was encouraged by original Ogryn Conversions (here and here but they've since been rebased) and am getting more comfortable with green stuff in general.


Process Regular Flamers:

  1. Purchased several flamers + 1 heavy flamer Imperial Guard bitz, including Gas Tank backpacks from ebay (pretty cheap).
  2. Took 3 existing melta guns that I had purchased (the red paint job is old), and sawed off the Melta bit.
  3. Also had to grind their backs a little bit to remove the head covering ends etc. to make way for the gas tank(s). Not too much is needed if you're cool with a "slouched" diagonal look to the gas tanks.
  4. Took 2 flamer gas tanks, and cut them in half, carving them down so that they looked like a single tank backpack. This is to help differentiate the heavy flamer from the regular flamers on the tabletop from a distance.
  5. Cut off the flamer "flame" bits from the original flamer arms and glued them onto the end of the cut down melta guns. Now the melta guns looks like flamers
  6. Took 1.5mm jeweler's wire which is very flexible, and cut it down to the right length
  7. Drilled shallow, roughly 1.5mm holes in the end of the gas tank as well as the bottom of the melta gun. I found the part where the other piping goes in looks logical.
  8. Glued the wire into the gas tank and the melta gun
  9. Hey Presto! Instant Tallarn Flamer dude
Process Heavy Flamer:
  1. This guy was neat because he's actually an older missile launcher guy who was missing his missile launcher arm. I had nothing for him to do...
  2. Had to grind down his shoulder a little bit and bend his holding arm, but eventually got it to a good place where it looks like he's holding the Heavy Flamer with both hands. But it's a great look
  3. Grind his back a bit to accommodate the flamer tanks.
  4. Glue the double gas tanks onto his back. I keep the double tanks since he's "heavy" so will need more gas, and at a distance I'll be able to easy tell he's the heavy. I'm not a HUGE fan of the heavy flamer weapon model, but that's ok. I think it would look better if it were more horizontal instead of vertical.
  5. The piping almost fit, but needed a bit of hot bending, and I broke it a bit so will have to fill in with Green Stuff eventually
  6. Also, since he's supposed to be holding a missile launcher against his head, I'll need to Green Stuff the side of his head to fill it out a bit. Otherwise it looks a bit flat.
  7. Hey Presto! Instant Heavy Tallern Heavy Flamer dude.
Even if I don't use them in 40k which I don't really play, I could play One Page Rules Sci Fi or Kill Team.  These guys will be a great addition. I'll update once I've got the Green Stuff in place, and might have undercoated 'em.

Khador Battlebox magnetized

 Being locked down here in California, I've been distracting myself with thinking about wargaming, modeling, and collecting.

I can't paint (my daughter is still young enough that she wants to fiddle with whatever Daddy's doing), but I can occasionally do some greenstuff, and modifications. The next few posts are just what I've been up to.

First up is my magnetization of my Khador Warjacks. I needed an opponent for my Menoth. Originally I'd have gone with Crucible, but those figures seem to be unavailable. Khador however, my next favorite has plenty on eBay, MiniatureMarket.com etc. So Khador it is!

Mk3 of Warmachine uses "Themes" heavily. I really like forces with lots of 'jacks, so the obvious choice in Khador is the Theme "Jaws of the Wolf", which is the 'jack heavy theme.

To that end, I bought the Khador battle box, which has Kozlov1, a good beginner caster, a Juggernaut, and a Decimator; two heavies which are easy to play.

Ever since I magnetized my Menoth Crusader YEARS ago, I thought it would be a good idea to magnetize these guys, so I bought a box of Khador Heavy Jack Kit, which comes with plenty of options. I also bought the Kodiak Kit because it looks amazing, and magnetized EVERYBODY. 

Behold!

With this group of lads, I can make 2xJuggernauts, 2xDecimators, a Marauder, and/or a Destroyer. Add to that a Kodiak or a Grolar. So lots of choice! And a good setup for some Battlebox battles or even 15 pts.

Friday, March 29, 2019

First DBA Tournament Con Quest 2019

Got to play a DBA tournament with my finally finished Later Carthaginians.
Not much to discuss, but it was loads of fun. Some pics from my various opponents. Rus, Early Crusaders, and Post Mongol Samurai. No history at all, but heck, when will I ever get an opportunity to have Hannibal fight against Warrior Monks? :)

Good games. I got murdered in the first one against Rus. Both Elephants got killed, but the Early Crusaders and Samurai got me some lucky breaks, and I won them both. And people said Later Carths are hard! Ha!

Excellently run tournament, and a great bunch of guys.Now I'm really pumped to paint my Numidians, Romans, and Greek Hoplites.


Wednesday, July 11, 2018

Song of Warjacks and Warbeasts: Simple wargames for kids

No pics today.

I've been recently looking at how to introduce my much younger nephew to wargaming. A couple of years ago I gave him all my old Warhammer Fantasy Battle figures as a Christmas present (including the Bretonnians and the War Wyvern) So that I could continue to enjoy them with him and his dad, without just having them sitting in a box for years and years.

But he's pretty young (think 12ish), so I needed a ruleset that would allow us to push figures around with dirt simple rules to keep his interest.

I found 1 Page Warhammer from One Page Games, which has since been rebranded as "Age of Fantasy", probably because GW got in their face. Free to download, and easy to play. Each figure has a quality that they roll to hit and save by, a few special rules, and ALL the army lists that you'll need. It's perfect and we played a great game with my old 3rd edition orcs, goblins and trolls that XMas. There is also "Grimdark Future" with basically the same rules, except using Bolters etc. It's the revision of 1 Page 40k. He's less into 40k for now, and I'm keeping my Tallarns because I love them.

BUT, then I got into Warmachine. Have only played a few small games so far, but have a painted 35 point army of Menoth ready to go. I've been wanting to find a simple "1 Page Warmachine" so that we can have some 'jacks on the table but the OnePage rules have yet to bring that one out. Maybe you could jimmy it. I dunno.

Enter Song of Blades & Heroes. It's from Ganesha Games, and it looks just as great as the 1 Page rules, BUT it looks like it can handle things like Warjacks, and gunpowder. This is especially true with the addition of "Advanced Song of Blades", which I won't try to play with my nephew, but will take a couple of the advanced weapons and spells. There are numerous supplements due out for ASOB including gunpowder and cannons (and dwarves) with the Hammer & Forge expansion. There will also be a "Steam and Cogs" expansion for guess what!? Robots and Magic automatons Steam punk style = Warjacks and Warcasters!

So I'm hopeful that this will become my simple to play WM game. Still want to play Warmachine actual, but actually don't know anybody in the North Bay Area that I can play against so here's hoping.... Also since SoBnH doesn't care what figures you use, I can start collecting Warmachine Dwarves and even the new Crucible Guard (which look AMAZING) without worrying about creating a legal army. This also means I can finally use my Mariner 'Jack without having to have silly pirates as a faction. I'm hopeful you can play Colossus as well, but we'll see.

Thursday, August 25, 2016

Saga: Dark Age Fun

At NJCon15 last year, I found a quiet corner outside the main convention hall where a number of people were playing a skirmish game called "Saga". I'd heard of it, and have always wanted to get into dark ages but never got into it.. Until now. The guy in charge was very nice and we played a 4 point demo game. Then I started watching the History Channel show "Vikings", as well as the BBC show "The Last Kingdom", which is a bit better since its based on the Bernard Cromwell Books. Started reading those too.. Excellent subway reading.

Saga itself is actually quite easy. You roll dice, and place these dice on a "battle board" which allows you to activate units and buff your guys, or debuff your opponents. There's "Fatigue" in which your guys get tired, and your opponent gets to "spend" this fatigue to do more things (or prevent your guys from doing things).  An ingenious system.

So I went and bought 2 Crusader Miniatures armies for Saga; a Viking 4 point force, and an Anglo Saxon 4 point force.  http://www.crusaderminiatures.com/list.php?cat=4&page=1

4 points means you have 4 units, and the size of the unit depends on what it is. There are only 3 types of units in the game, Hirthguard (elites), Warriors (normal), and Levies (crap), and 1 point will buy one of these units. 1 point will buy 4 Hirthguard, 8 warriors, or 12 levies, so it evens out. Each faction has it own special weapon that you can give to a unit.  The vikings for example get to have one of their elite units be "berserkers", so they get more attack dice, but less defense. You can also get mounted troops, Dane Axes, slings, and a few other things. The main meat of a faction is in the battle boards which are unique to the faction, and give each of them their flavor. You also get a warlord for free, and if he dies, game over.

Ok, enough rules review (there are plenty online anyway). I just finished painting up all the hirthguard for both my vikings, and their anglo saxon opponents. Technically Anglo Saxons and Anglo Danes by this point looked pretty much the same (everybody's got a huge colorful shield and was hairy), so they could port to that too, which is a nice 2 for 1. The Vikings meanwhile can pass as Jomsvikings so again a good 2 for 1 faction.

Anyway, here are the figs. I used Little Big Men Studios (http://www.littlebigmenstudios.com/catalog/) transfers for the shields since they look fantastic, and I didn't want to have to paint them myself, memories of WFB Savage Orcs and Bretonians from my past come to mind. To differentiate them, the Saxons have no iron rim on their shields, and the Vikings will all have a rim. I figured its a good subtle difference that will show. I *might* put a red dot on the Vikings' bases. We'll see.

First the Berserkers:

Then the Viking Hirthguard with 2 handed axes:

And finally the Anglo Saxons with their dane axes (and slung shields):

Sunday, July 12, 2015

Eowyn: Better late than never


I'm a bit embarrassed by this post. This particular project has taken me about 5 years to actually do. And by "project", I mean, these two figures of Eowyn from Lord of the Rings.  My wife is very patient with my hobby and I suggested that I could paint her a figure of her choice. She chose Eowyn. Eowyn's a badass, so no problems there. I started painting the figures about 5 years ago, but didn't get round to highlighting the figure, didn't know how to do the armor correctly, other projects got in the way (since I technically couldn't use her for battle. I don't own any other LOTR figs), and so it languished, through 3 different apartments, and 2 different cities.

However, with the impending birth of a baby daughter on the way (very excited about that), I realized that I had to get moving on my various miniature projects or else they may NEVER get done. And it took about 2 hours to get her done. Either way, here's Eowyn, with my new found love of static grass and boulders. The eyes were quite hard to do, but her cape and armor came out really well. The blond hair also worked quite nicely.

Sunday, March 8, 2015

Magnetizing Protectorate Plastic Warjack

So I finally had some time to do some modelling. I didn't do any painting, but I did magnetize the Protectorate Plastic Warjack kit. Its actually 3 heavy warjacks in 1; a Crusader, a Templar, and a Vanquisher, all of which use the heavy warjack Crusader chassis. Awesome stuff. After looking at this forum link on the Privateer Press Forum about how to magnetize the jack, I tried it myself.  These are the results. I didn't use 1/4" x 1/32" disc magnets.  I used 2 x 1/8" x 1/32" discs.

I won't go into detail on each photo, so hopefully its self evident. And at the end I have a few shots of all the options. I think it came out really well so can't wait to paint this dude up. My original Crusader is unmagnetized but my favorite figure from the Menoth army. I also used greenstuff to set the magnet for the Templar's shield, and I didn't magnetized the head. Just used the Templar head since it looks awesome. All cutting and drilling was done with a dremel round mill, and an exacto blade.


Saturday, October 25, 2014

The Protectorate Crusade

Finally got to take some pictures of the finished based Protectorate force. Of course its not finished yet. I have some random lead to paint still, warjacks, pSevy, more deliverers etc.

BUT this is a force I could field and have fun with.


And in case you're wondering where the big kahuna is, I'm still working on him, but have become a bit bored with painting tan for a while, so shall be focusing on my FOW US Airborne force for a while (and some my Carthaginian Gauls, Australian WW2 jungle troops etc. etc.).

He's big, he's in pieces, and he's slowing getting done..


Tuesday, August 12, 2014

Fear and Basing in Las Vegas

Ghoulio has been giving me crap for ages about how I need to base my Warmachine stuff.  There is a reason I have up until now not done it. Fear.  Fear of screwing up my carefully (and slowly) painted figs with a crap base job.  Back when we started this nonsense, everybody used to use bright green flock.  Everybody was apparently fighting on a golf course.  I even flocked my Tallarns this way for YEARS (http://legiominimus.blogspot.com/2011/03/vendetta-ogryn-chimera-and-tallarn.html).  Then I realized that the days of flock were long gone.  Happily it was relatively easy to fix them (http://legiominimus.blogspot.com/2011/04/tallarn-110th-redux-battlegroup-ptolemy.html) by simply painting the flock like dirt, throwing on a couple of stones and bob's your uncle.

But with the Protectorate, I wanted to go further.  I wanted the rocks to sit IN the dirt and not just sit on top of it like pebbles.  I also wanted to try my hand at static grass, something I haven't used before.

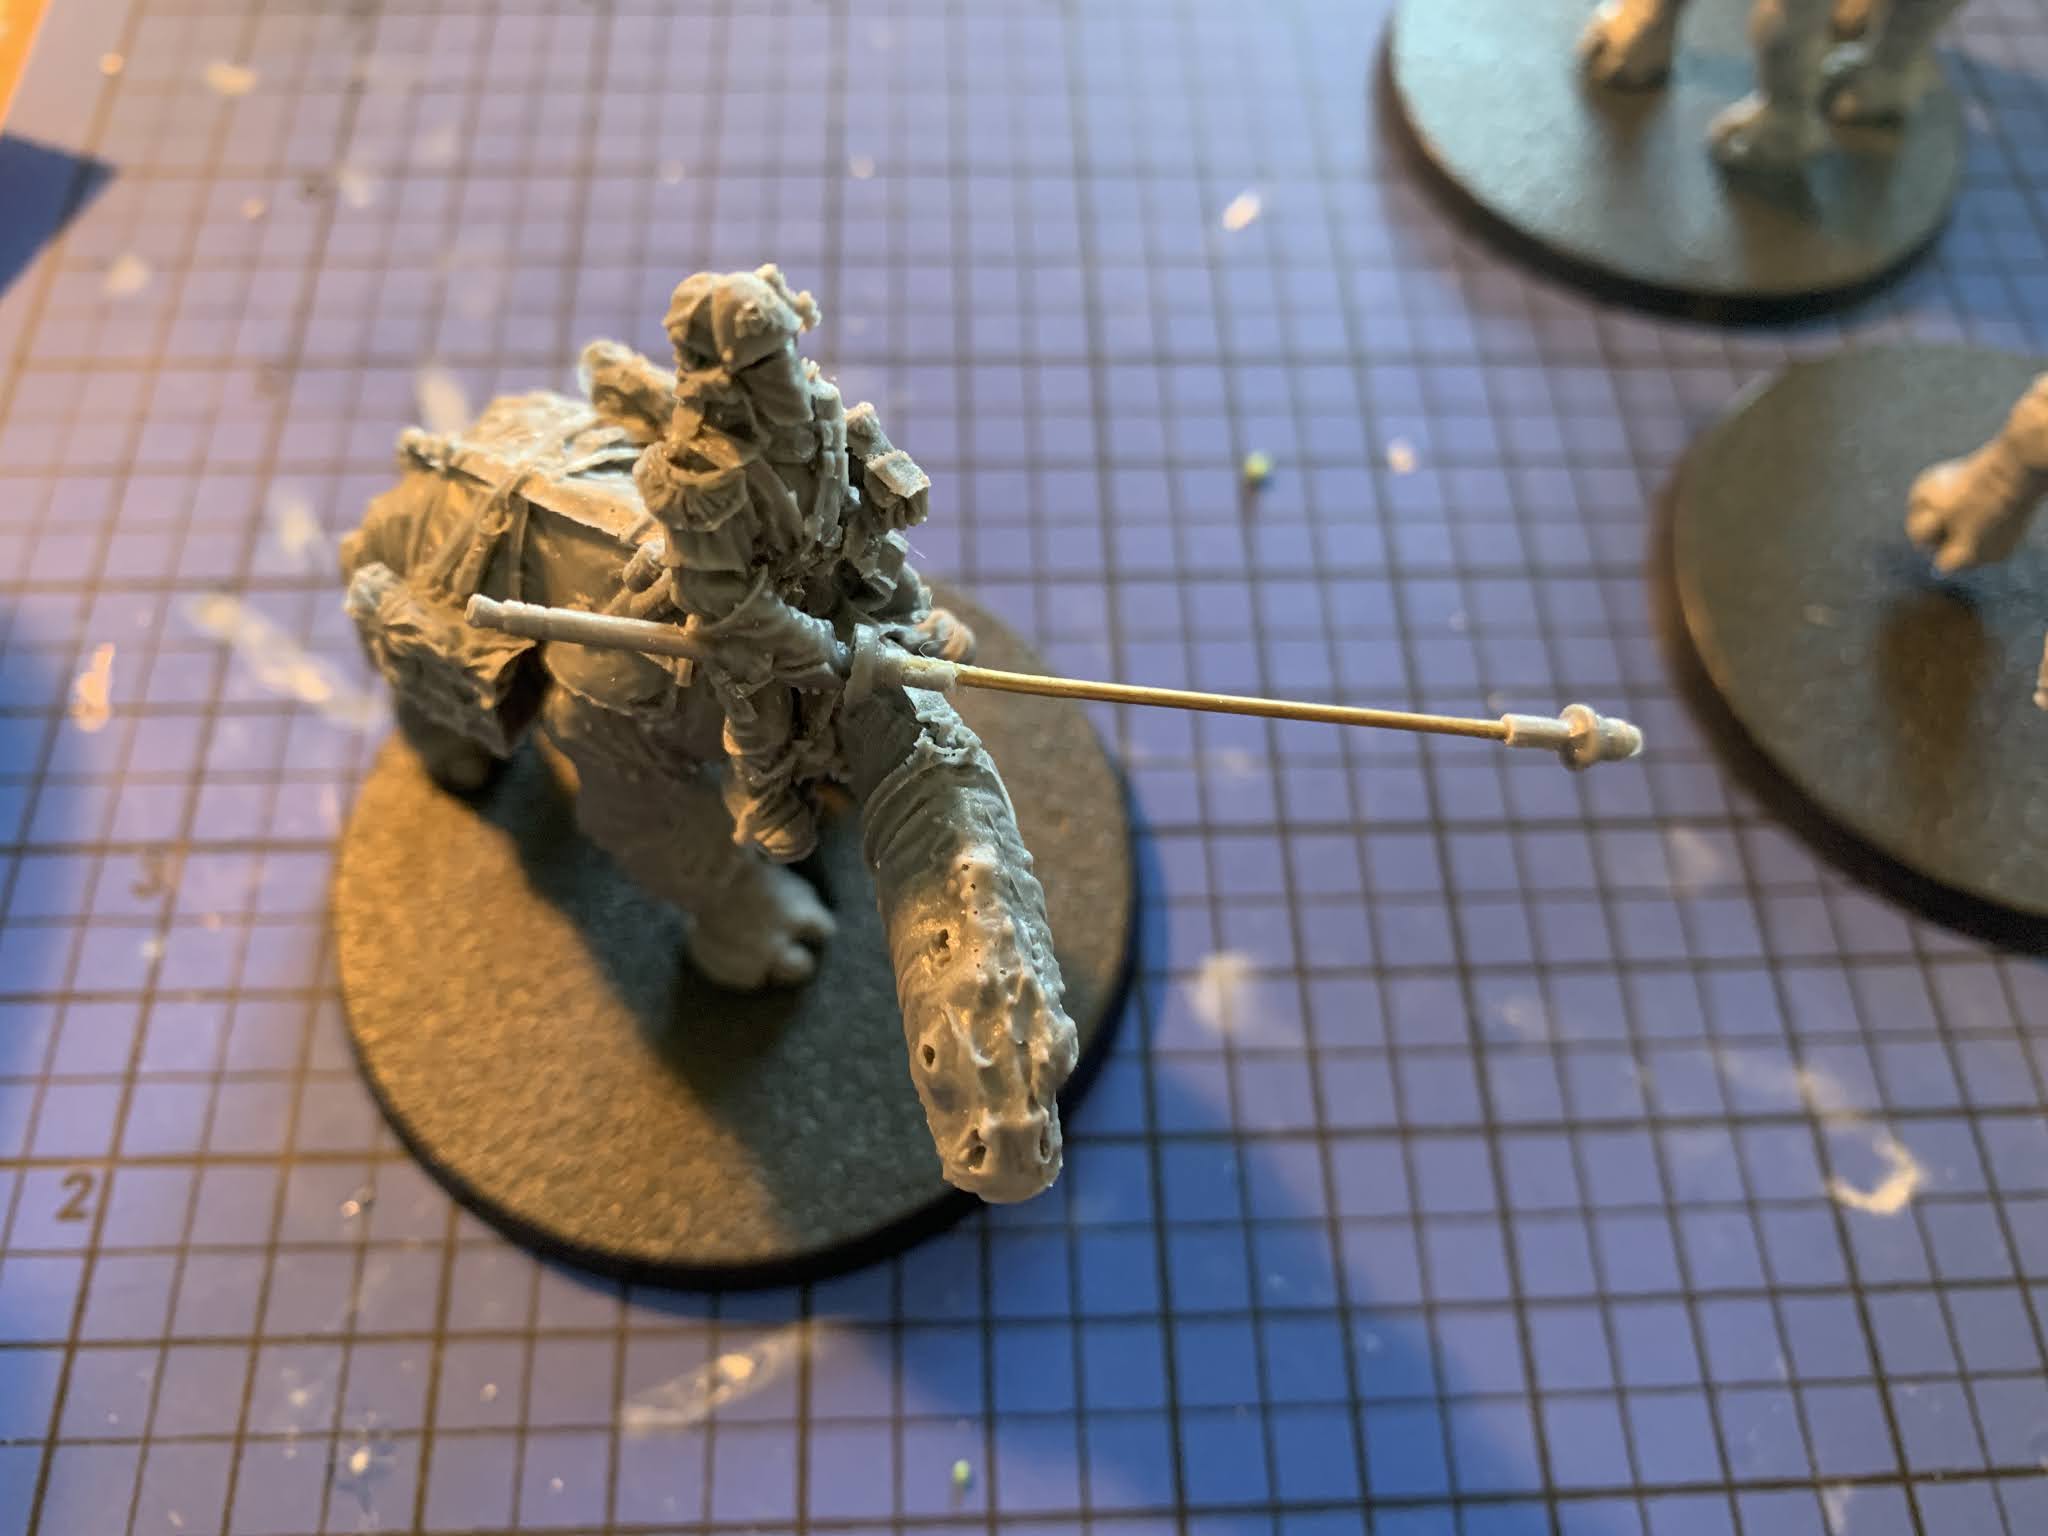
So to get over my fear, I decided to do test basing on 1 unit and make sure it looked fine.  I have chosen my Wracks, for no reason other than they had nice big bases with lots of places to try things out.  Below is a step by step of what I did.


Here you can see first glued on the seashell rocks onto the base, and then put on some fine sand, the idea being that the rocks would "protrude" out of the ground a bit.  This *kind* of worked, but the rocks still looked like they were sitting on top.  So I put down a second layer of sand.  This worked, but almost too well.  Now the rocks were buried. Not a bad look, but I think next time I'll angle the rocks so that part of them sticks out and the other part is under dirt.  Something to try.


Painting the entire thing black, and then painting the bases bestial brown, followed up by a leather lighter brown for highlights seemed to work. Well.  I followed this up with a very light drybrush of light tan.  I wanted the dirt to look like dirt, and not sand like I did for my Tallarns.


The next step was to highlight the rocks.  Using Adeptus grey as the initial highlight and then Fortress grey seemed to work well.  Of course GW seems to change their colors every year or so who knows if these colors are going to work.  Black + dark grey + light grey.  Boom.


Seeing Ghoulio's awesome white lines to demark the front and back of figures, I decided to copy this.  But I was worried that I would screw up marking the "half way" point, so I printed off a bunch of circles and marked with pen the appropriate line. Worked quite nicely I thought.


Call me a spaz if you like but it worked nicely, and this particular group of circles will work for all my figs. 

  
So now everything was ready.  I dull coated the models NOW, as I've heard that static grass doesn't like varnish.


Using the "small dabs of glue" and really mash the grass onto the base with WAY more grass then you're going to use.  Press it firmly with your finger and shake off the excess.  It worked out perfectly.


The only complaint I would have is the grass looks a little dark (especially in these photos), so that leaves me with a dilemma. a) Use lighter static grass (I have golf course green as well), or b) highlight the dirt more so that the grass has more contrast.  I think I'll go with b).

Either way, since everybody except the Big Kahuna (Judicator), and a few other solos is done, I'll start basing this weekend methinks.  The fear of static grass is gone!

Wednesday, July 23, 2014

Hnefatafl Board and Pieces Finally complete

So in my spare time at work, I've been making a Hnefatafl Board.

The pieces are 3D printed on a Makerbot, and then spray painted black and tan with a gloss overcoat.
The models of the pieces were taken from a 3D boardgame, although I'm afraid I forget which one.  I think it was a chess set.  I used the pawns, the king, and the knights..

The board is a 13x13" picture frame with a wooden base, cork mounted on the underside, and Home Depot stone bathroom 1" tiles as the squares.  I put caulking round the edge to seal everything in.

It turned out quite well.  Looking forward to playing.  I love the game because of its asymmetrical nature.


Obligatory Instagram Image: